Up on the housetop, click, click, click
Down through the chimney with good Saint Nick
Greetings, y’all! As mentioned, here’s another post for my week of Christmas in July. For some reason, I have a vivid memory of my brother singing the above song in an elementary school Christmas assembly and the thought always makes me laugh because he would never be caught dead singing Christmas songs nowadays. What a shame! I love me some Christmas music!
Last Christmas, I completed a festive wreath using a poinsettia flower pattern I found from Better Homes and Garden’s website. I’ve always loved poinsettias. They just evoke Christmas to me and each year I usually pick up about 10 or so potted poinsettias to help decorate around the house. Let’s get started!
Materials Used:
- Foam circular wreath form
- Yarn
- Felt
- Scissors
- Hot glue gun and glue
- Ribbon
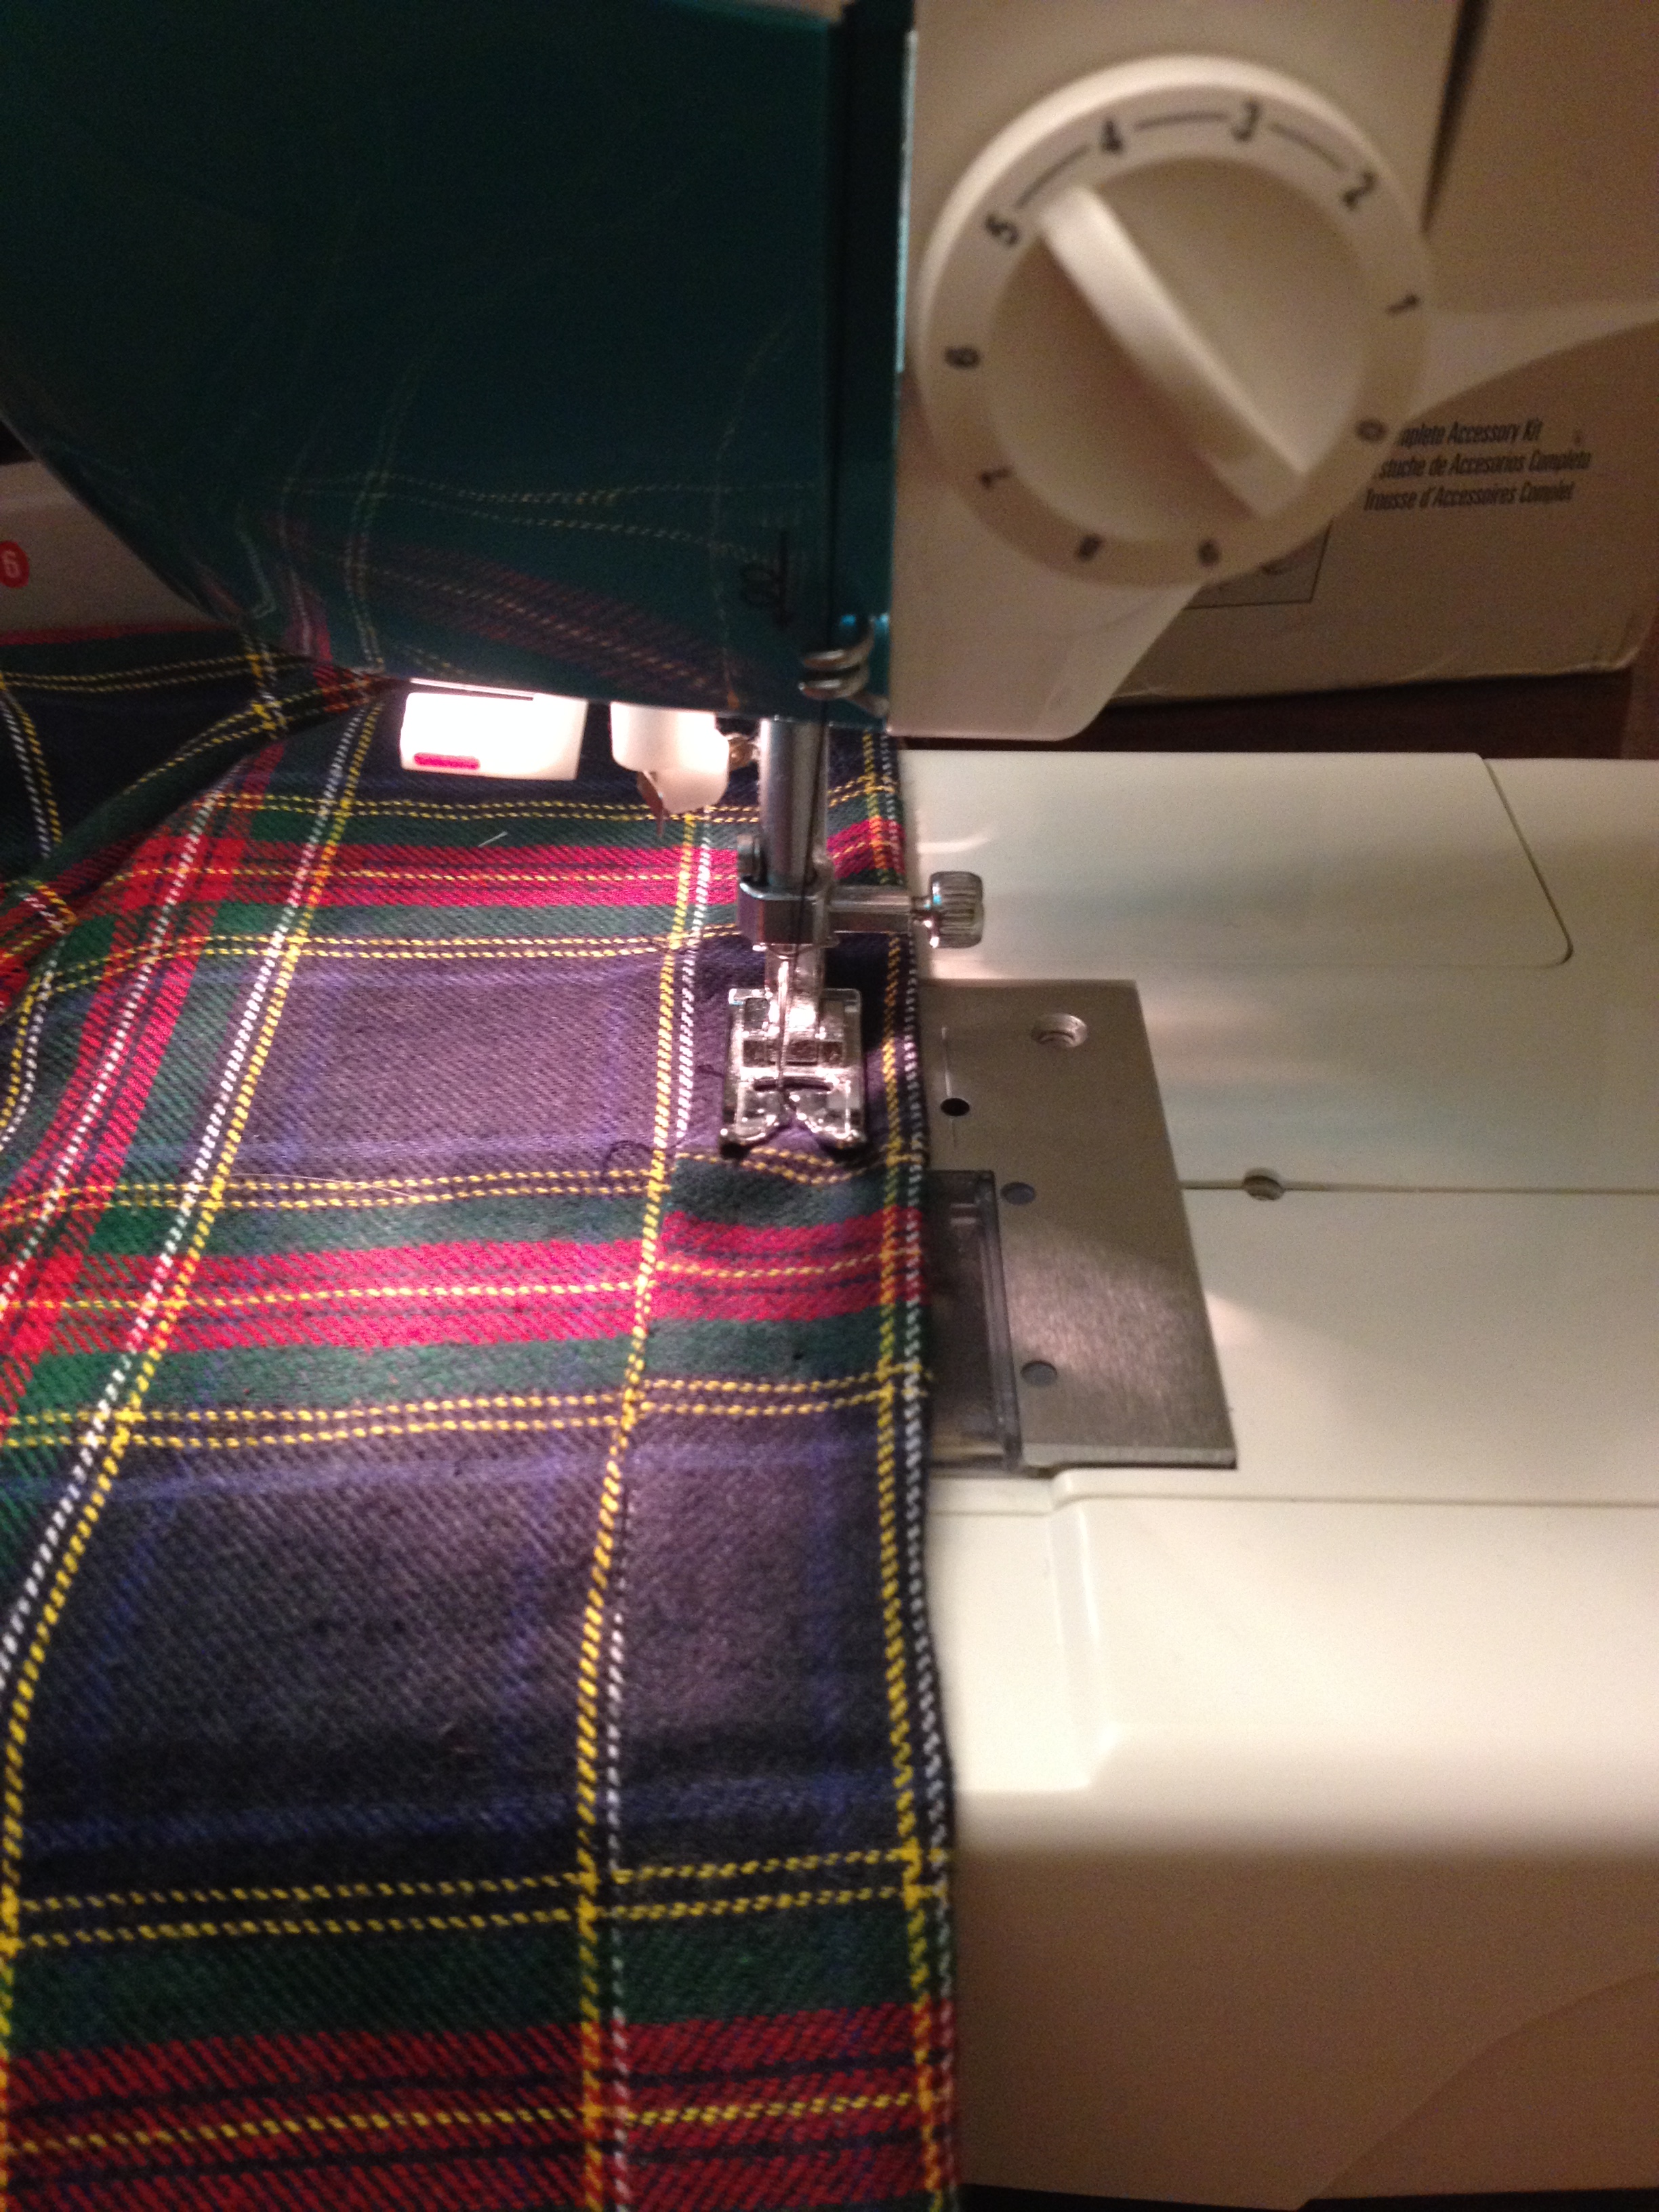
The first step is to start wrapping your yarn around your wreath form. I chose a multi-colored green yarn. Hot glue (or tape) the end of the yarn to the wreath to get started and start wrapping the bundle of yarn around your wreath. After a number of wraps, your wreath should start looking something like this:
 I totally recommend wrapping the yarn around the wreath while watching TV – just make sure you check the yarn here and there to check that the yarn is straight and close together. And, though the wreath form is also green, I think the multi-colored yarn yields a slight amount of contrast making the piece more visually interesting.
 Once you finish wrapping the yarn around, cut off the end and tuck it between the neighboring yarn. Glue the end down and your wreath form is now complete! Now, it’s time for the felt poinsettia flowers!
I used the following pattern from BHG but completely failed at taking pictures while making the poinsettia flowers. So, basically you print out the pattern and cut out the shapes to use as a template for one large poinsettia flower and one small poinsettia flower.
 Once you cut out all of your felt pieces, you need to “pinch” together the flat edge of the leafs. Put a dab of glue on the base of the flat edge and pinch the edges together. Allow the glue to dry before “unpinching” and you should be left with a more dimensional leaf!
Next, glue your leafs onto the coordinated flower base. Place a dab of glue on the underside of each leaf and place them around the base so that the pointed ends do not overlap. You should then have the basic poinsettia shape. To finish, cut out five tiny circles of a contrasting felt and glue them around the center of your flower. This helps to conceal all the ugly seams and gives the poinsettia some pizazz.
I desperately wish I had pictures to better explain how to assemble the flowers but here are my finished flowers glued onto my wreath.
 Almost done! Next, I added some festive ribbon to make the wreath hangable. Wait.. that totally isn’t a real word, is it? I made an easy bow and glued it to the top of my wreath. I then cut a length of ribbon and made a loose loop around the wreath, gluing the ends together.
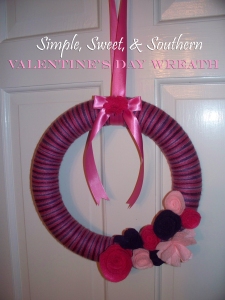
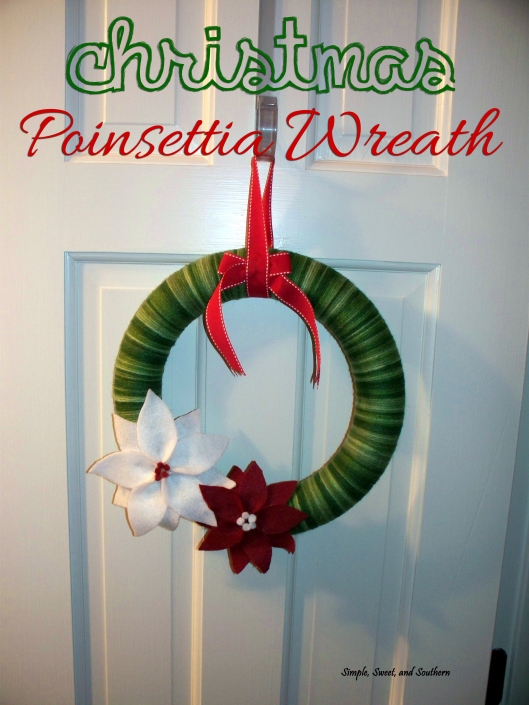 And, that’s about it, y’all. A hangable wreath with some Christmas festiveness. I must admit that I liked this wreath so much that I made a similar type wreath for Valentine’s Day using different colored yarn and felt flowers – another post for another day. This DIY Christmas Poinsettia Felt Wreath is super easy and inexpensive!


 I purchased some star patterned ribbon in a denim-like texture as shown above from Joann. (DON’T FORGET TO USE COUPONS, Y’ALL!) I wrapped the ribbon around the pool noddle, hot gluing here and there as I went. In order to cover the pool noodle entirely, I used approximately 1 1/2 spools or 18 feet of ribbon.
 It’s super simple and really inexpensive. The total cost was less than $7.00!


 Remember my


